Overview
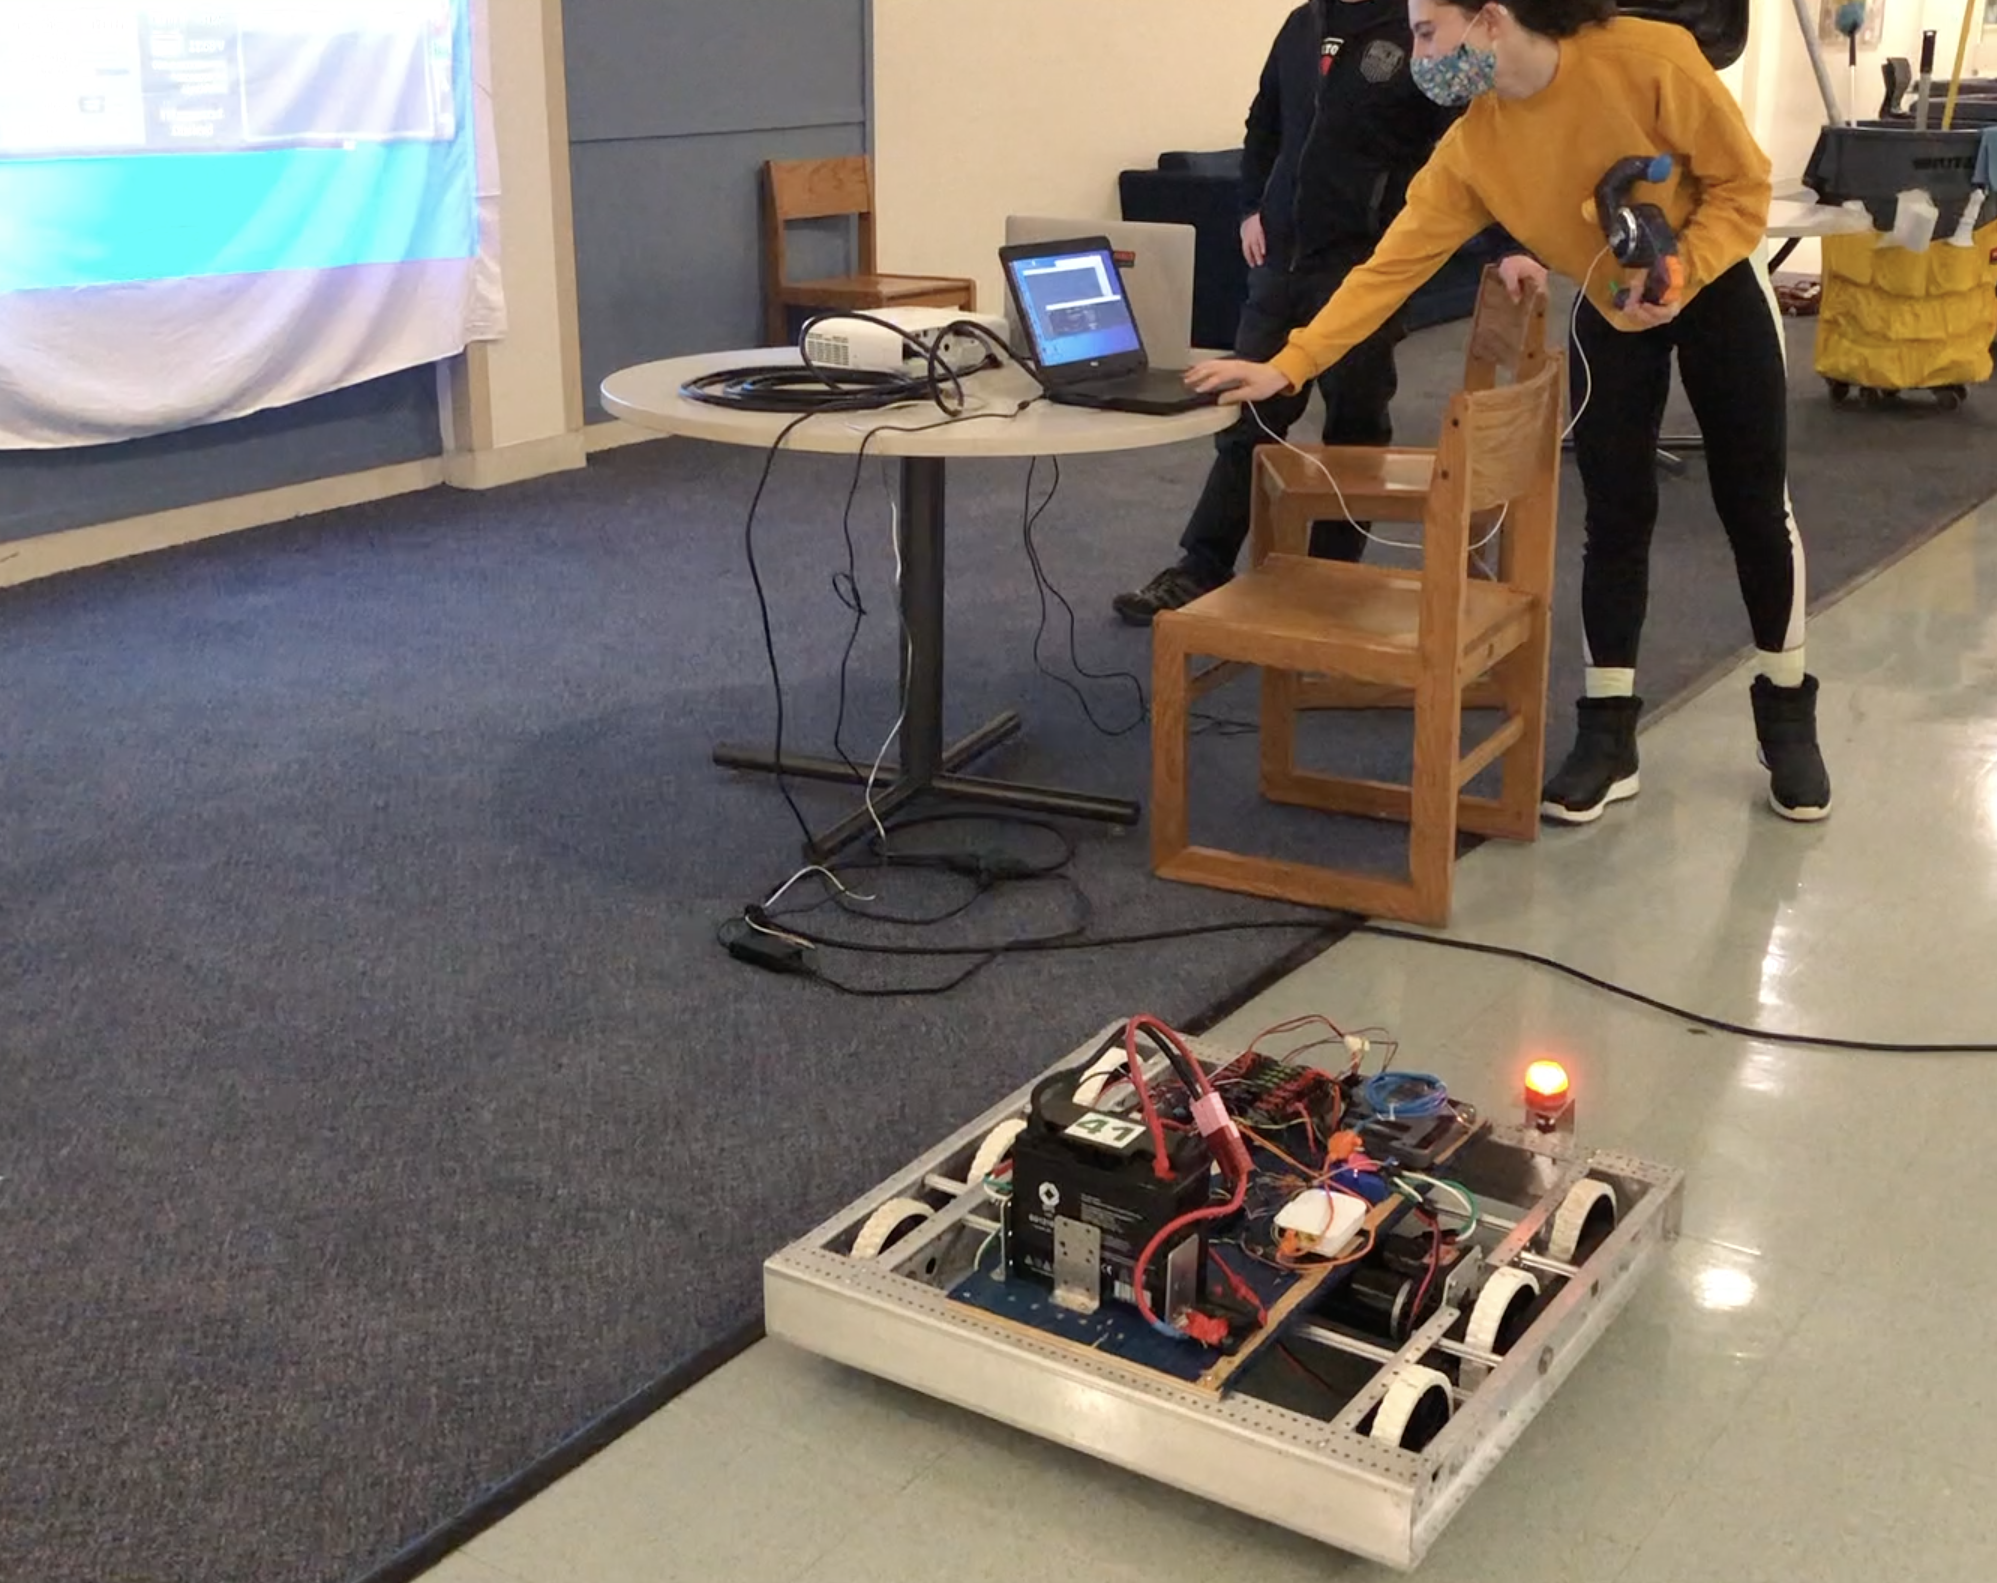
As a member of my school's First Robotics team, I thought it might be fun to control our robot with a Bop-It (an old kids toy with buttons and levers you have to pull). This project is very beginner friendly, and will turn your old bop it into an xbox controller you can use to play any game.
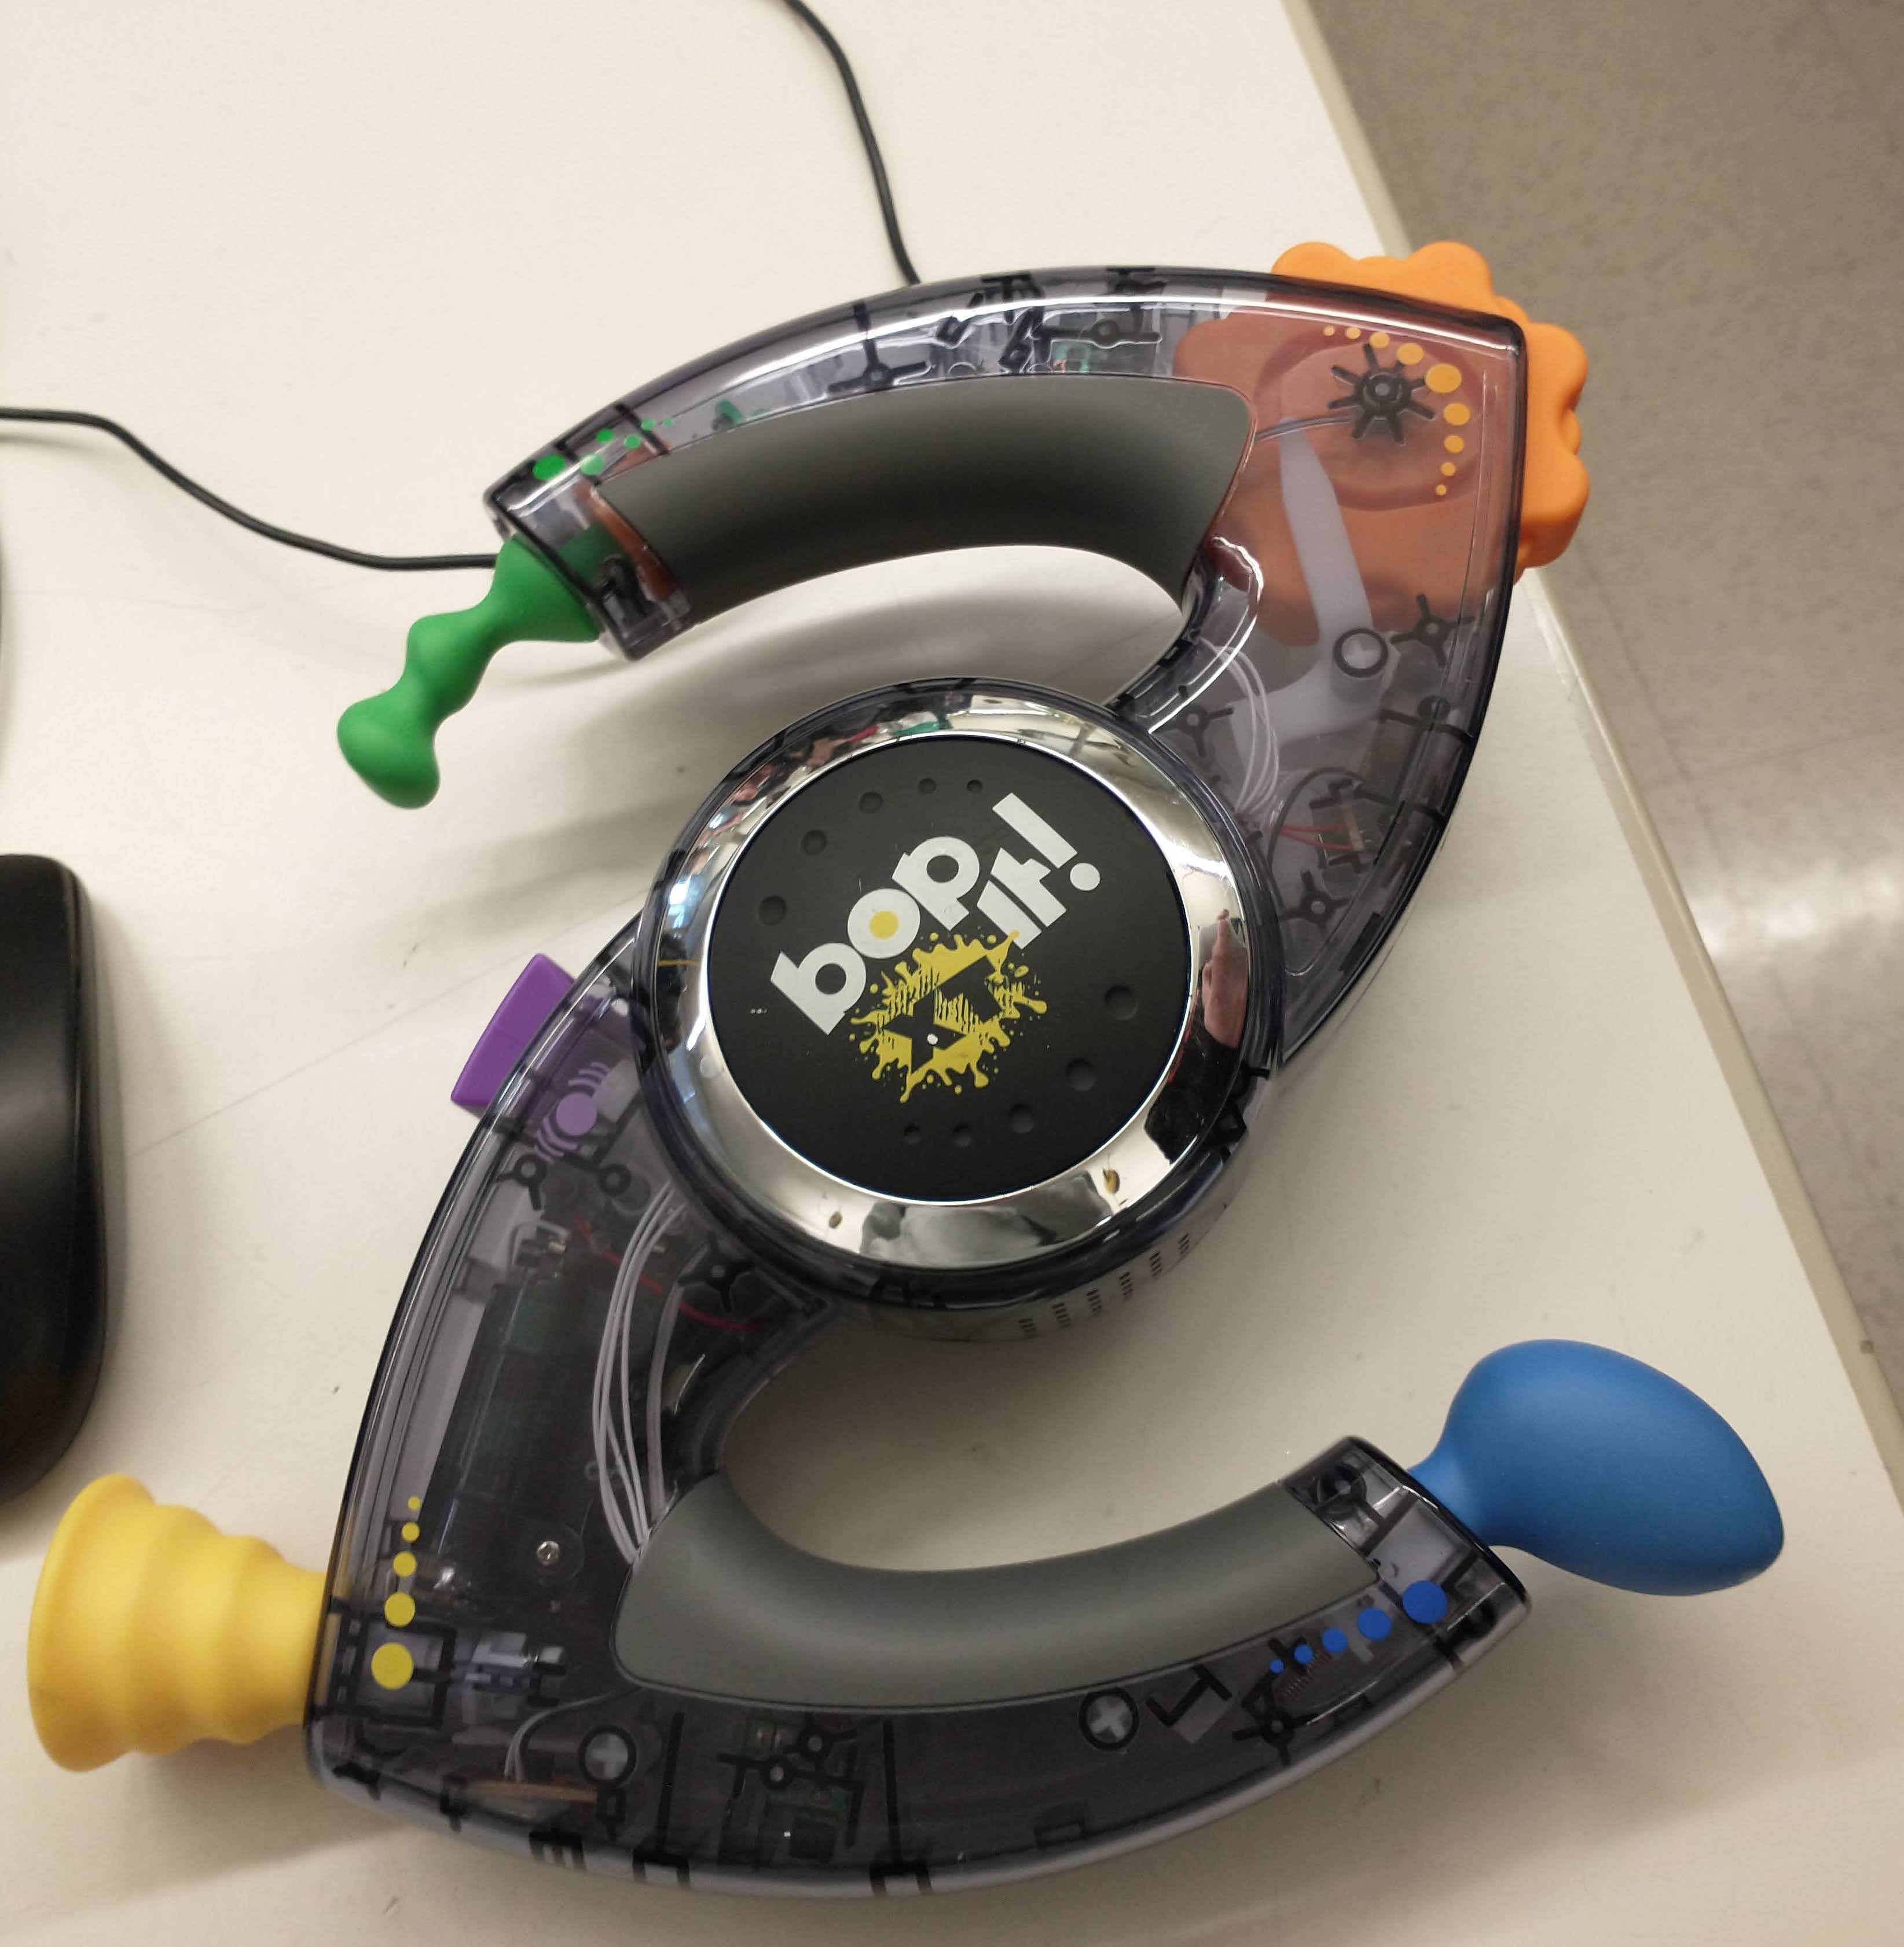
1. Deconstruct It!
The first step is to take the bop it apart by unscrewing all the screws holding the two halves together. You may want to take a picture of all the compionents so you know how to put it back
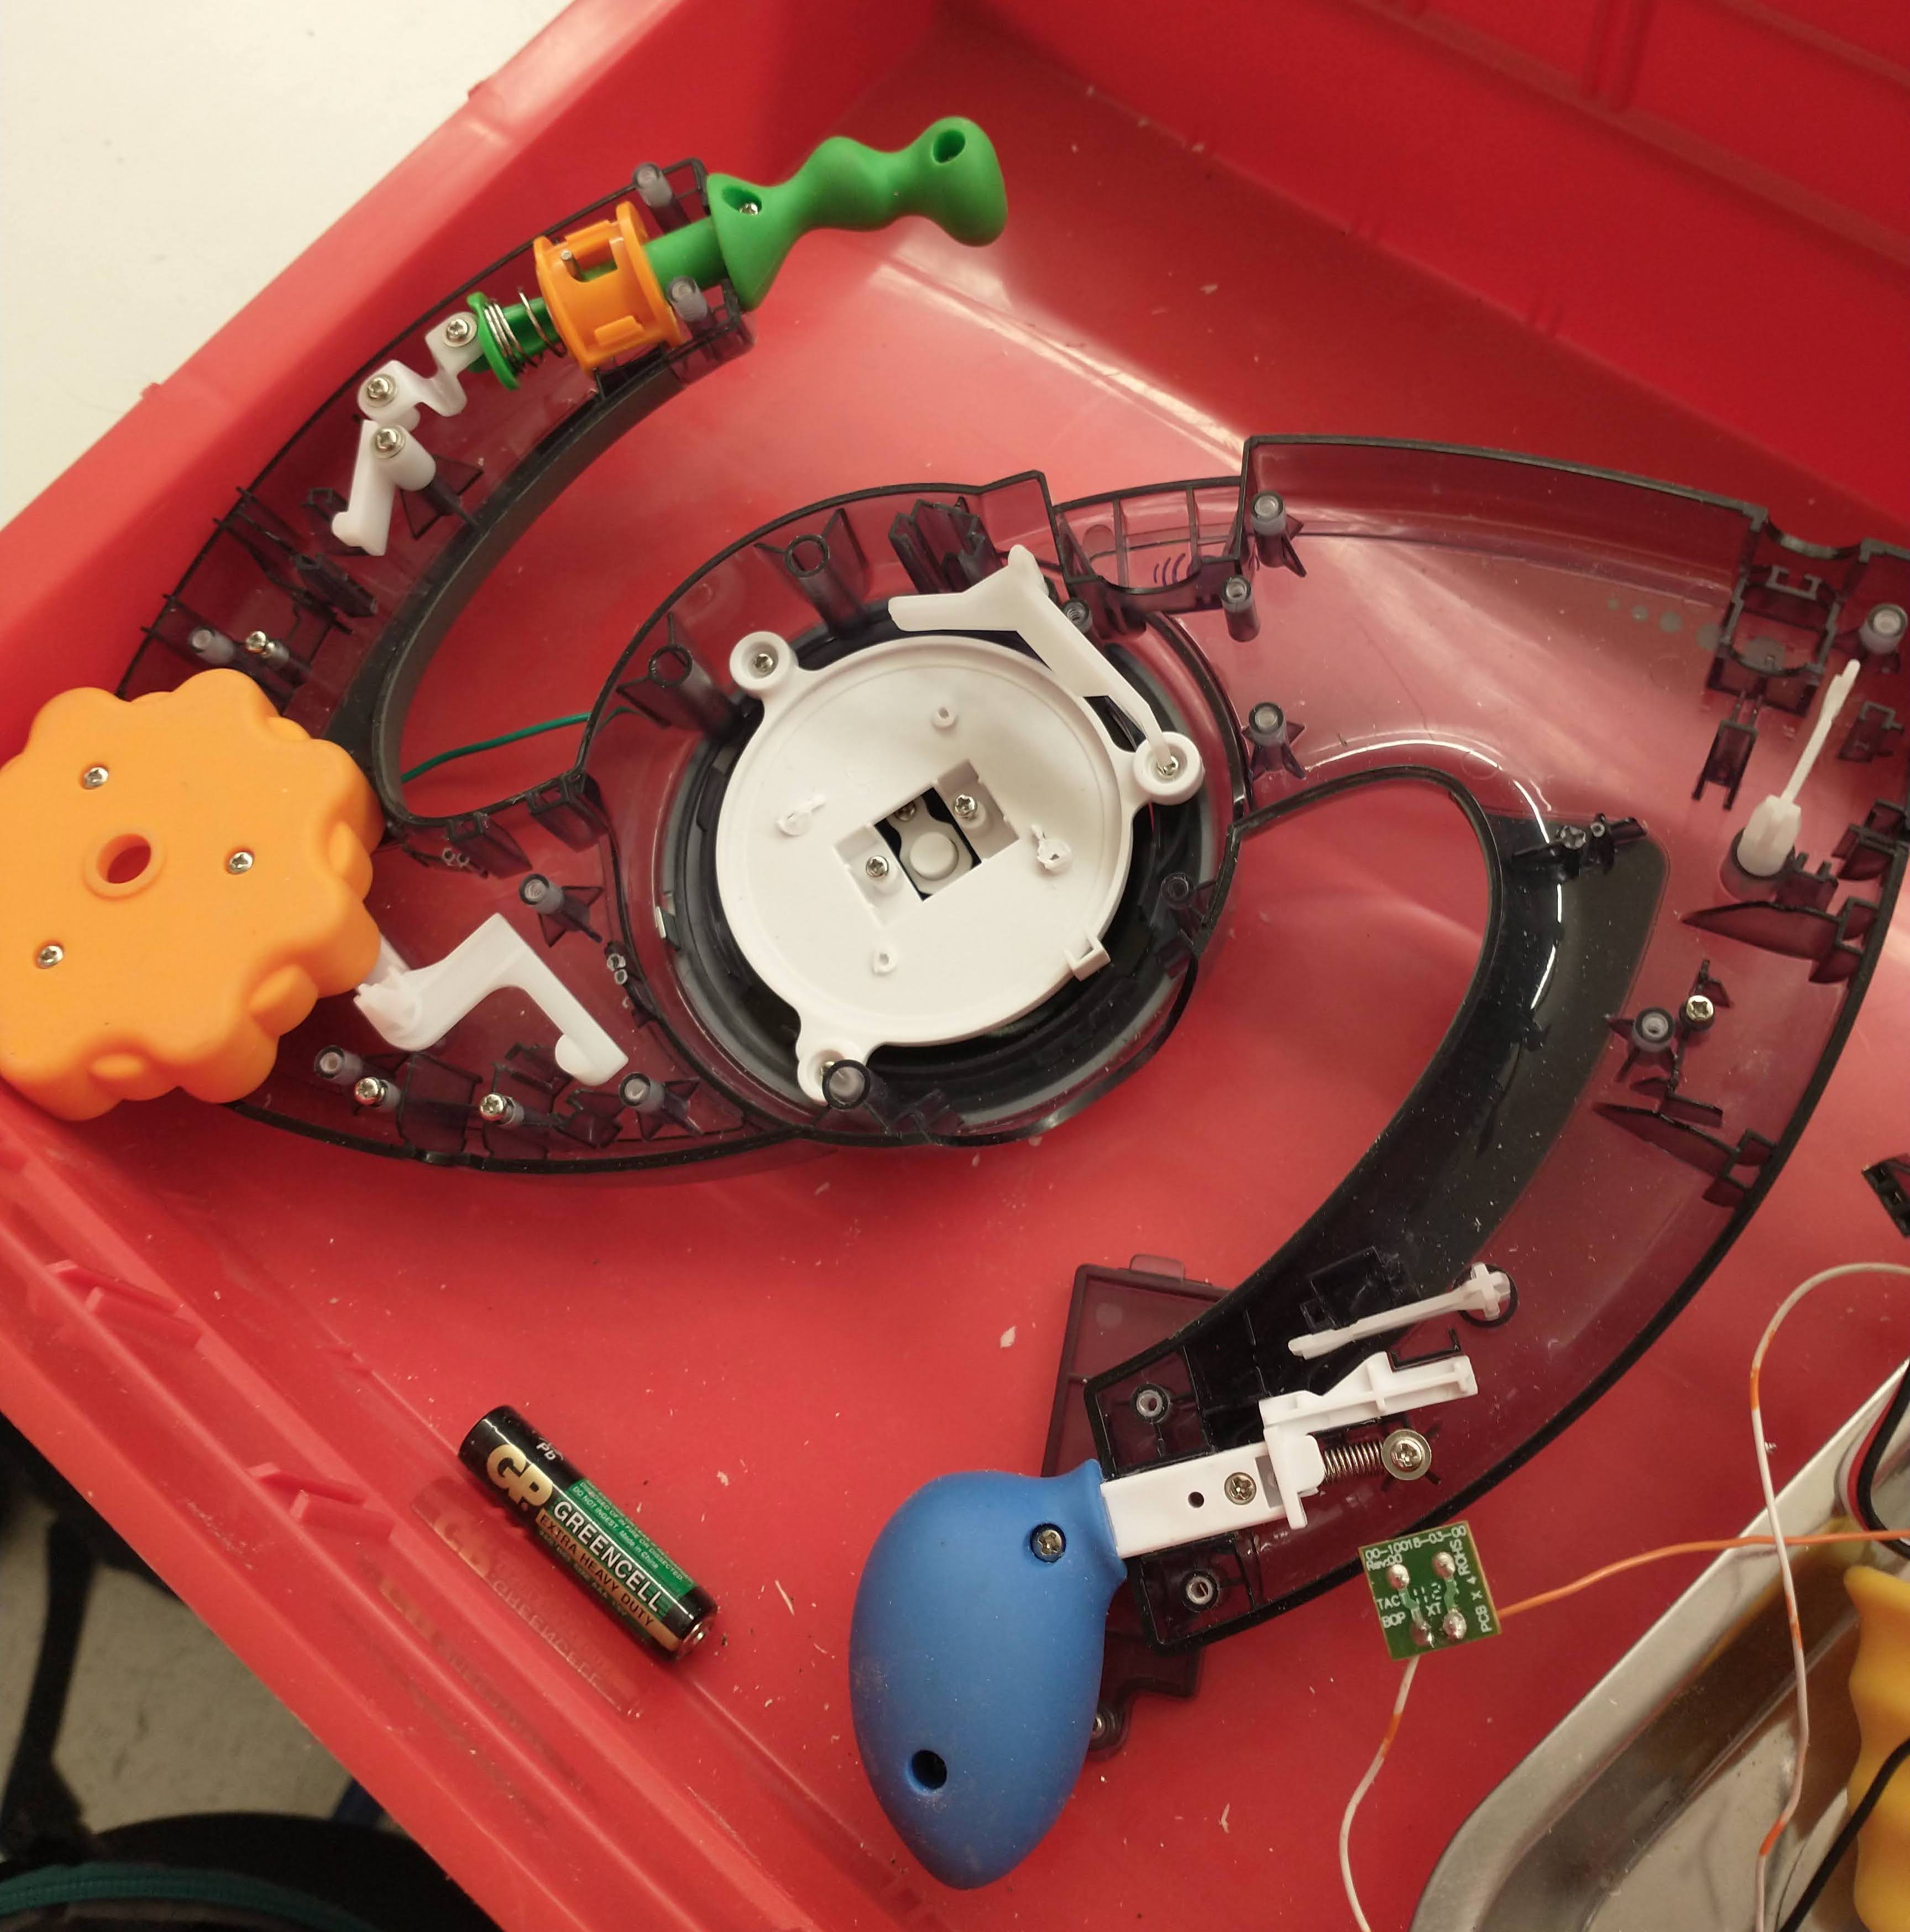
2. Remove It!
You may notice that in the middle of the toy, there is a motherboard connected to all the buttons, speakers, and batteries. Cut or desolder all the wires from the board, and remove it along with any electrical component aside from the buttons that act as triggers for when you interact with the toy.
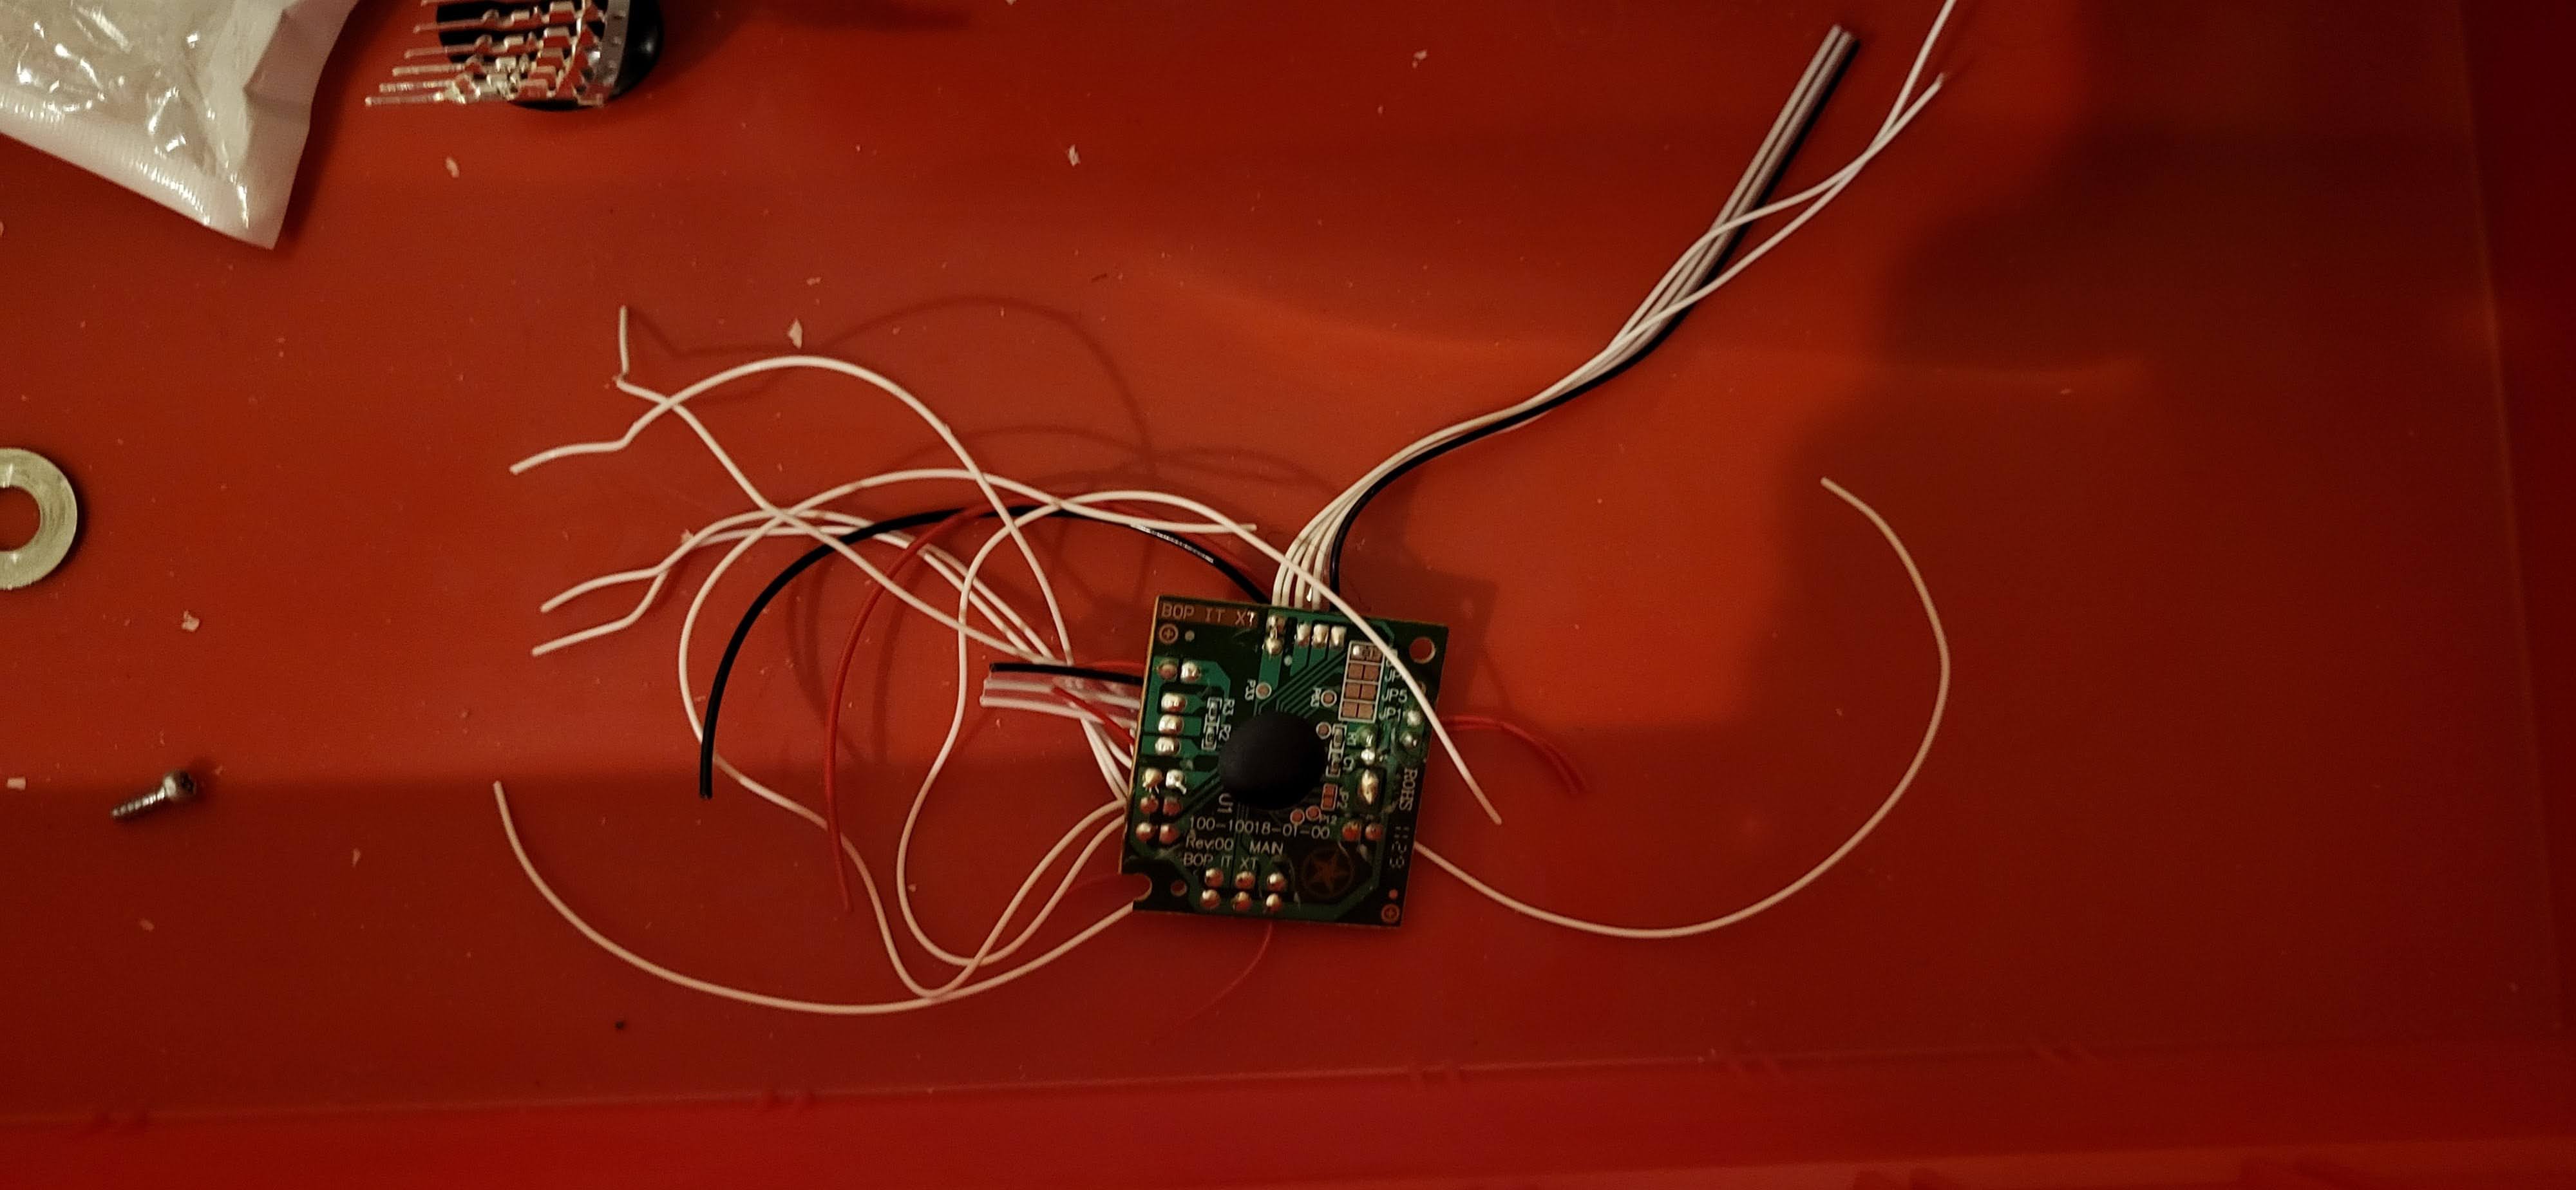
3. Wire It!
Now take out your microcontroller, I am using the Adafruit ItsyBitsy 32u4 for this project. The board you use dosent realy matter as long as the board has native usb. Solder each of the positive button wires to a unique GPIO port on your controller, and the negative wires to GND. Multiple wires can share one ground pin, so dont worry about not having enough GND pins.
4. Seal it!
Plug your usb cable into the board, and seal the toy up. I ended up removing the "Shake it" piece from the Bop-It, so I have the usb cable come out from the hole left in the top.
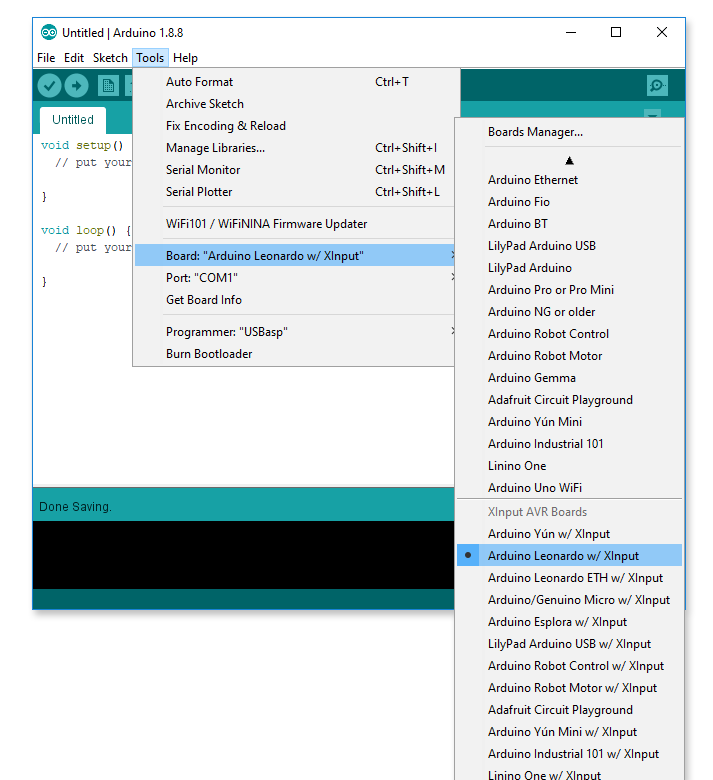
5. Install it!
Plug the other end of the usb cable into your computer. Before we start coding in the arduino IDE, there are 2 packages that need to be installed. The first is the Arduino AVR Boards for XInput package. After you do so and restart the IDE, you must select the correct board from your board manager. The board im using has the same chip on board as the arduino leanardo, so I am going to select that board with x input.
You must then download the ArduinoXInput library in the form of a zip file, and install it through the arduino IDE.
6. Program It!
Once you have installed all the nessisary parts, its time to code. Here is what your code should look like:
#include <XInput.h>
void setup() {
//Make sure you replace these pin numbers
//With the correct pins
    pinMode(13,INPUT_PULLUP);
    pinMode(12,INPUT_PULLUP);
    pinMode(5,INPUT_PULLUP);//Bop it Button
    pinMode(7,INPUT_PULLUP);
    pinMode(10,INPUT_PULLUP);//Bop it Button
    pinMode(6,INPUT_PULLUP);

    XInput.begin();

}

void loop() {
    //setting joysticks to 0
    XInput.setJoystick(JOY_LEFT, 0, 0);
    XInput.setJoystick(JOY_RIGHT, 0, 0);

     //A button
    if(digitalRead(13)==LOW){
       XInput.press(BUTTON_A);
    }
    else{
    XInput.release(BUTTON_A);
    }

    //B button
    if(digitalRead(12)==LOW){
       XInput.press(BUTTON_B);
    }
    else{
    XInput.release(BUTTON_B);
    }
    //X button
    if(digitalRead(5)==LOW){
       XInput.press(BUTTON_X);
    }
    else{
    XInput.release(BUTTON_X);
    }
    //Y button
    if(digitalRead(7)==LOW){
       XInput.press(BUTTON_Y);
    }
    else{
    XInput.release(BUTTON_Y);
    }

    //LB
    if(digitalRead(10)==LOW){
       XInput.press(BUTTON_LB);
    }
    else{
    XInput.release(BUTTON_LB);
    }

    //RB
    if(digitalRead(6)==LOW){
       XInput.press(BUTTON_RB);
    }
    else{
    XInput.release(BUTTON_RB);
    }

}
7.Upload It!
When you are ready to upload, just hit the upload button. Because the code is turning your board into a usb device, you will no longer be able to program it unless you hold the reset button on the board while uploading your code.
8. Enjoy It!
Congradulations, you now have a bop it that works like an xbox controller. You can use it to play minecraft, or controll a two ton robot like I did.
There is no blog available for this project :/